- Published on
Spinning Up a New Drupal 10 Site in Under 5 Minutes, Part One
- Authors
- Name
- Christopher Snizik
- @casinnola


Painless way to get started with an out-of-the-box site in your local environment
Creating a new Drupal site in a local dev environment can be quick and painless, or it can probably be a super-complex and intimidating endeavor. I will demonstrate my personal recipe, of the "quick-and-painless" variety, which has been my go-to method for a couple of years now. Hopefully it will work as smoothly for you as it does for me.
Prerequisites
(This doesn't count as part of the 5 minutes, btw.) For this tutorial, I'm assuming that you are comfortable working with CLIs, and that you have the following already installed on your machine:
DDEV is my weapon of choice for setting up Docker for Drupal. If you've never used DDEV, it handles all of your Docker stuff for you: creates your Dockerfile, define services in docker-compose.yml, sets up your volumes, networks... everything. DDEV has recipes for common tasks: import a database, run a cron job, etc.2
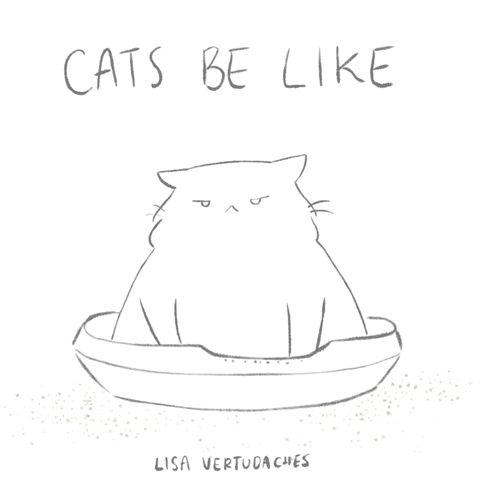
I'm tired of using dumb project names like my-drupal-site or whatever, so my demo site is going to be called the-great-catsby because cats.

BTW - I didn't come up with these steps; they're taken directly from the CMS Quickstarts section of DDEV's docs. I just added some explanatory notes. In the next article I'll add to these steps to give you what I consider to be an ideal D10 dev environment.
1) Make your directory
mkdir the-great-catsby && cd the-great-catsby
This is your project root; it's where the composer.json and composer.lock files are going to live. This is different than your ./web/ directory, which is the public facing directory, which will live in the project root; it will be added as part of the next step.
2) Configure the environment
ddev config --project-type=drupal10 --docroot=web --create-docroot
This sets up the configuration for a Drupal 10 project, specifies that the web-accessible directory will be a subdirectory called web, and instructs DDEV to create this directory if it doesn't already exist. (This is a Drupal architecture that, depending on how long it's been since you created a new site, may look unfamiliar to you. I will circle back to this in step 4 below.)
3) Start up your environment
ddev start
This gets all the Docker goodnesss started: containers for web, database and any other services Docker needs, etc. Keep an eye on the feedback you get in the terminal; it will give you the URL for your newly spun up server. This is where your Drupal site will live in just another couple of minutes.
4) Create your new project
ddev composer create drupal/recommended-project
This creates your new Drupal site based on the drupal/recommended-project template, which uses a "relocated document root" (which is the ./web subdirectory you created). This is the recommended layout, with your webserver only being allowed to access files within "web". Your ./vendor directory is not accessible via the webserver's root, which is better for security. If you haven't spun up a new Drupal site since 8.7.x, this may be a new configuration for you.
5) Require Drush
ddev composer require drush/drush
Drush is a command-line shell and scripting interface for Drupal ("Drush" comes from "Drupal shell"). The steps from here on will use drush rather than composer.
6) Install the site
ddev drush site:install --account-name=admin --account-pass=admin -y
Composer created the project in step 4, and technically that could count as the end of the 5-minute installation process; you could go to the-great-catsby.ddev.site (or whatever URL you got after you did ddev start) and manually trudge through the install process, starting with "Choose a language"... but why bother when Drush will do it for you? Part of the install process here is giving a username and password to the all-powerful user/1 account.
NOTE: be mindful of the extremely NOT secure username and password I used here. This will only apply to my current environment (dev), so I'm not worried about security. But if you're working in some kind of shared dev environment and you want to lock down your admin account even on dev, then give it a secure pw here. In reality, I'll never even use whatever password I set here because I tend to keep user/1 logged in on my local envirnonment; if it ever gets logged out, I just use drush to generate a new one-time login link, which is also our next step...
7) Generate a login link
ddev drush uli
"uli" is short for "user-login", one of Drush's oodles of happy and helpful commands that you'll probably memorize (along with drush cr which is permanently seared into my fingers' muscle memory. I'm pretty sure I've cleared caches in my dreams with drush cr a few times, and my fingers probably went through the motions of typing it.)
8) Launch
ddev launch
Again, we could have stopped after step 4 above; everything after that was lagniappe. All this last command is doing is opening a browser tab to the URL of your brand new site, which is one of those steps that "lazy developer does because lazy developer can."
And that's it. If you followed along and it took you longer than 5 minutes, or you weren't able to complete it at all, post in the comments below.
And as I already mentioned, everything in this process was lifted directly from DDEV's "CMS Quickstarts" section for Drupal.
In Part Two, I'll go through the rest of the steps on my personal quickstart checklist, where we'll configure the dev environment with some super handy dev settings.